Manage Styles

Work more efficiently with reusable style libraries

Create "Style Presets"

Style presets are predefined prompt parts and parameters that you can insert into your generation with one click. They save time and ensure consistency in your projects.

A1111 Prompt Snippets

A1111 Webui Styles Panel

How to create styles:

  1. Open the Styles menu in the prompt area
  2. Click on "Create Style"
  3. Enter name, positive and negative text
  4. Save your style

Style file example styles.csv:

name,prompt,negative
Photorealism,"photorealistic, detailed, 8k","cartoon, drawing"
Anime,"anime style, vibrant colors","photograph, realistic"

ComfyUI Nodes

ComfyUI Style Nodes

Workflow with Style Nodes:

  1. Create a "Primitive" node of type "String"
  2. Insert your style prompt into the content
  3. Connect this node to the positive prompt input
  4. Save the workflow as a template

ComfyUI Node JSON:

{ "Style_Preset": { "inputs": {}, "class_type": "STRING", "value": "photorealistic, detailed, 8k" } }

Text Files & Clipboard

The simplest method: Save different styles in a text file and copy them into your prompts as needed.

Example Structure:

## Photorealistic ##
positive: photorealistic, detailed, 8k, high quality photography
negative: cartoon, painting, drawing, illustration
cfg: 7.5 | steps: 30 | sampler: DPM++ 2M Karras

## Anime ##
positive: anime style, vibrant colors, high quality
negative: realistic, photograph, 3d render
cfg: 9 | steps: 25 | sampler: Euler a

Tip:

Create a folder for your style libraries and organize them by category (e.g., art styles, eras, materials).

Button Macros & Parameter Sets

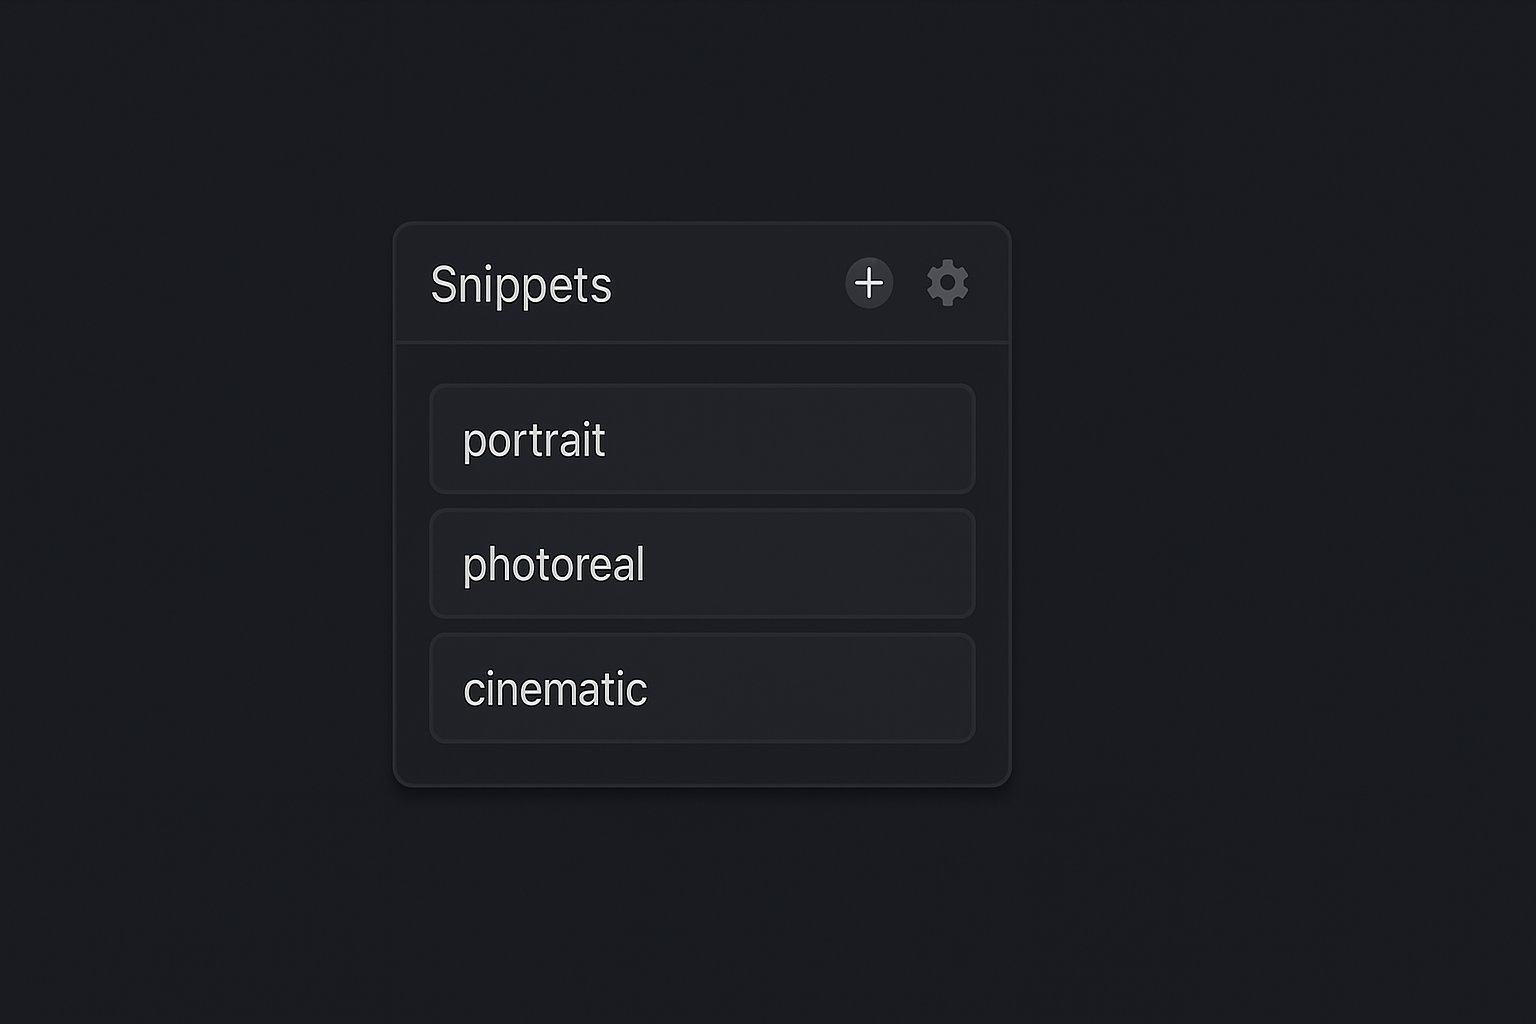
With macro buttons, you can apply frequently used styles and parameters with a single click. In many interfaces, you can save parameter presets along with your styles.

Advantages of Parameter Sets:

  • Time savings when switching between different styles
  • Consistent results through tested parameter settings
  • Easy experimentation through quick switching
  • Better organization of your workflows

Style Button Examples

Photorealistic

CFG: 7.5
Steps: 30
DPM++ 2M Karras

photorealistic, detailed, 8k, high quality, sharp focus

cartoon, painting, illustration, drawing, anime, blur

Parameter Set JSON Example:

{ "photorealistic": { "prompt_prefix": "photorealistic, detailed, 8k", "negative_prefix": "cartoon, painting, drawing", "parameters": { "cfg_scale": 7.5, "steps": 30, "sampler_name": "DPM++ 2M Karras", "width": 1024, "height": 1024 } } }

Positive/Negative Collections

Besides complete styles, it's helpful to create separate collections for positive and negative prompt elements.

Positive Collections

Quality Boosters

highly detailed 8k professional masterpiece sharp focus

Lighting

golden hour cinematic lighting rim light dramatic shadows

Camera Settings

85mm lens bokeh shallow depth of field f/2.8

Negative Collections

Quality Issues

blurry low quality pixelated jpeg artifacts noise

Anatomy Errors

bad anatomy deformed extra limbs distorted

Unwanted Elements

text watermark signature out of frame

Organizing your collections:

  • Group thematically: Lighting, camera, styles, etc.
  • Design for combinability: Individual elements should mix well
  • Test and document: Note which combinations work particularly well
  • Update regularly: Add new findings to your collection

Your Own Style Library

Exercise: Create your first style library

  1. Choose a style you use frequently (e.g., Photorealism, Anime, etc.)
  2. Collect positive and negative prompt elements that define this style
  3. Note the parameters that work best (CFG, Steps, Sampler)
  4. Save everything in a text file or your preferred tool
  5. Test the style with different subjects and refine it

Style Template to fill out:

Style Name:
My First Style
Positive Prompt:
[Style properties], [Quality improvements]
Negative Prompt:
[Unwanted properties]
CFG:
7.5
Steps:
30
Sampler:
DPM++ 2M Karras

Learning objective achieved:

You now know how to create, organize, and efficiently use your own style libraries. This speeds up your workflow and ensures more consistent results.